Freedify Deployment Guide
Stream music anywhere. Host it yourself.
🐳 Docker (Easiest - One Command!)
Best for: Anyone with Docker installed. No setup required.
Prerequisite: Install Docker Desktop first.
Just run:
docker run -d -p 8000:8000 biohaphazard/freedify:latestThen open http://localhost:8000 🎵
🍓 ARM64 Supported: Works on Raspberry Pi, Apple Silicon (M1/M2/M3), and ARM servers!
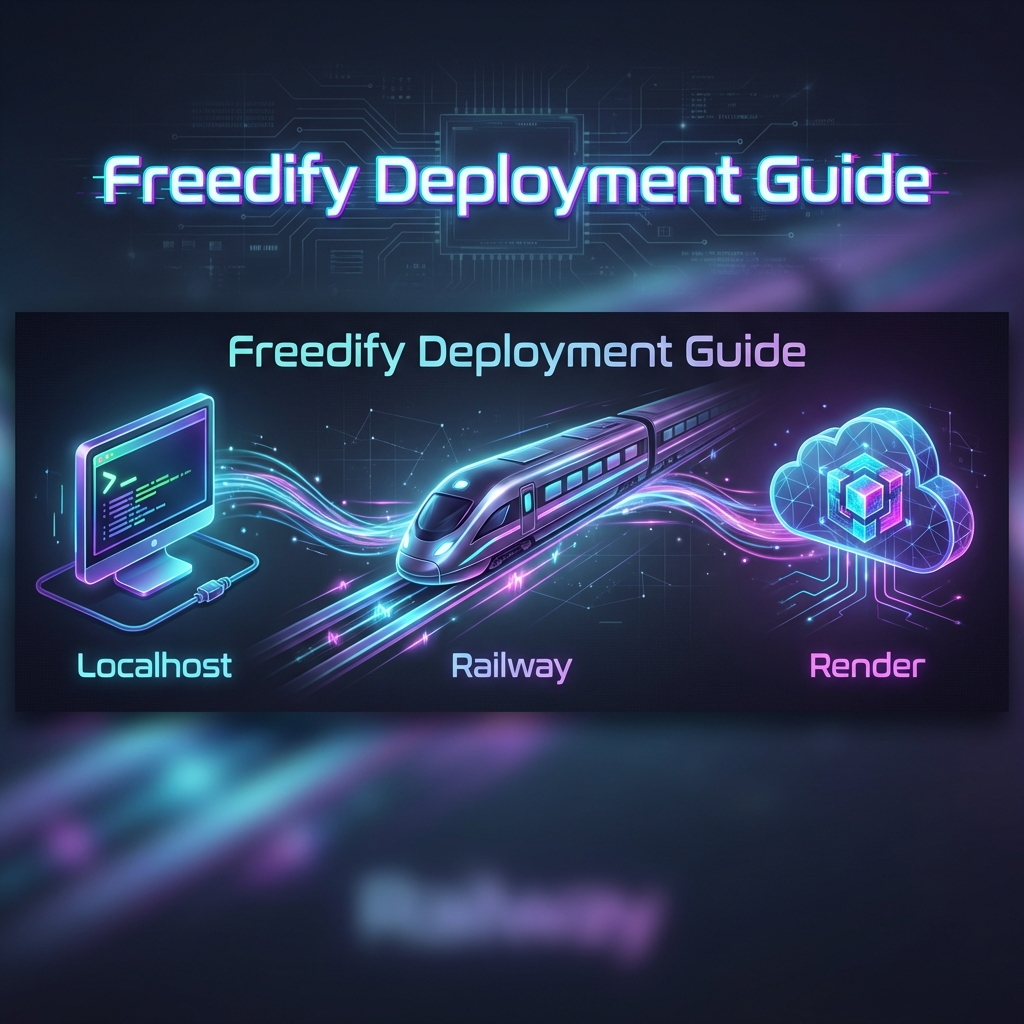
💻 Option 1: Localhost (Your Computer)
Best for: Fastest performance, local file access, no cost.
Prerequisites
- Install Python 3.11: Download Here (Check "Add Python to PATH").
- Install FFmpeg (Required for transcoding):
- Windows:
winget install ffmpegvia PowerShell. - Mac:
brew install ffmpegvia Terminal.
- Windows:
Steps
- Download the code (Clone or ZIP) from GitHub.
- Open terminal in the folder and install dependencies:
pip install -r app/requirements.txt - Start the server:
python -m uvicorn app.main:app --host 0.0.0.0 --port 8000 - Visit http://localhost:8000 🎵
🚂 Option 2: Railway (Premium Cloud Host)
Best for: Faster spin-up times than free tiers.
✨ Plug and Play: We added auto-configuration so you don't need to mess with settings!
Steps
- Fork the Freedify repository to your GitHub.
- Log in to Railway.app.
- Click + New Project → Deploy from GitHub repo.
- Select your forked repo and click Deploy Now.
- Wait for initialization, then go to Settings → Networking to get your public URL.
☁️ Option 3: Render (Free Tier Alternative)
Best for: Free hosting. Fully supports our new Tidal Hi-Res streaming proxy mesh.
Steps
- Fork the repo to your GitHub.
- Sign up for Render.com.
- Click New + → Web Service → Select your fork.
- Configure:
- Build Command:
pip install -r app/requirements.txt - Start Command:
python -m uvicorn app.main:app --host 0.0.0.0 --port $PORT
- Build Command:
- Click Create Web Service.
📱 Option 5: Termux (Android)
Best for: Running directly on your Android phone/tablet without root.
Steps
- Install Termux from F-Droid.
- Install dependencies:
pkg update && pkg upgrade pkg install python ffmpeg git rust binutils-is-llvm libuv python-cryptography python-grpcio pip install pydantic_core pip install -r app/requirements.txt - Clone and run:
git clone https://github.com/BioHapHazard/Freedify cd Freedify nano .env # (Optional) add API keys here python -m uvicorn app.main:app --host 0.0.0.0 --port 8000 - Open
http://localhost:8000in your phone's browser 🎵
💡 Tip: Cache defaults to
~/.freedify_cache. Use CACHE_DIR=~/path to customize.
🔑 How to Find Your API Keys
Unlock AI playlists, Drive sync, and Hi-Res audio by finding these keys.
| Variable Name | Purpose | How to find it |
|---|---|---|
GEMINI_API_KEY |
AI Features (DJ, Smart Playlists) | Google AI Studio → Create API Key. |
LISTENBRAINZ_TOKEN |
Scrobbling (History) | Create account at ListenBrainz. Check your email for the API Key after signing up. |
GOOGLE_CLIENT_ID |
Google Drive Sync | Google Cloud Console → Credentials → OAuth 2.0 Client ID. |
Where to put them?
- Localhost: Create a file named
.envin the folder and paste them likeKEY=VALUE. - Railway: Go to the Variables tab in your project dashboard.
🍎 Apple Music Users
Freedify supports Spotify playlist URLs. To import your Apple Music playlists, use a free transfer tool:
| Tool | Free Limit |
|---|---|
| Soundiiz | 200 songs |
| TuneMyMusic | 500 songs |
| FreeYourMusic | Desktop app |
Steps: Transfer playlist to Spotify (free account works!) → Copy Spotify URL → Paste in Freedify → Stream in lossless! 🎵